Why should I use DISCO Contacts?
It's useful to have Contacts saved in your DISCO so you can share Playlists with them and send them campaigns using our Email Creator tool. You can also view their activity on Playlists and add Notes to their profiles (that are viewable by anyone else in your DISCO).
In addition, you can more easily manage any writers you work with.
At a glance
Anyone you share Playlists with will automatically be added to your Contacts list, but you can also add Contacts manually.
Adding a single contact
- From the left sidebar of your DISCO, under Tools, select Contacts.
- On the Contacts page, in the top-right, click the Add New Contact button.
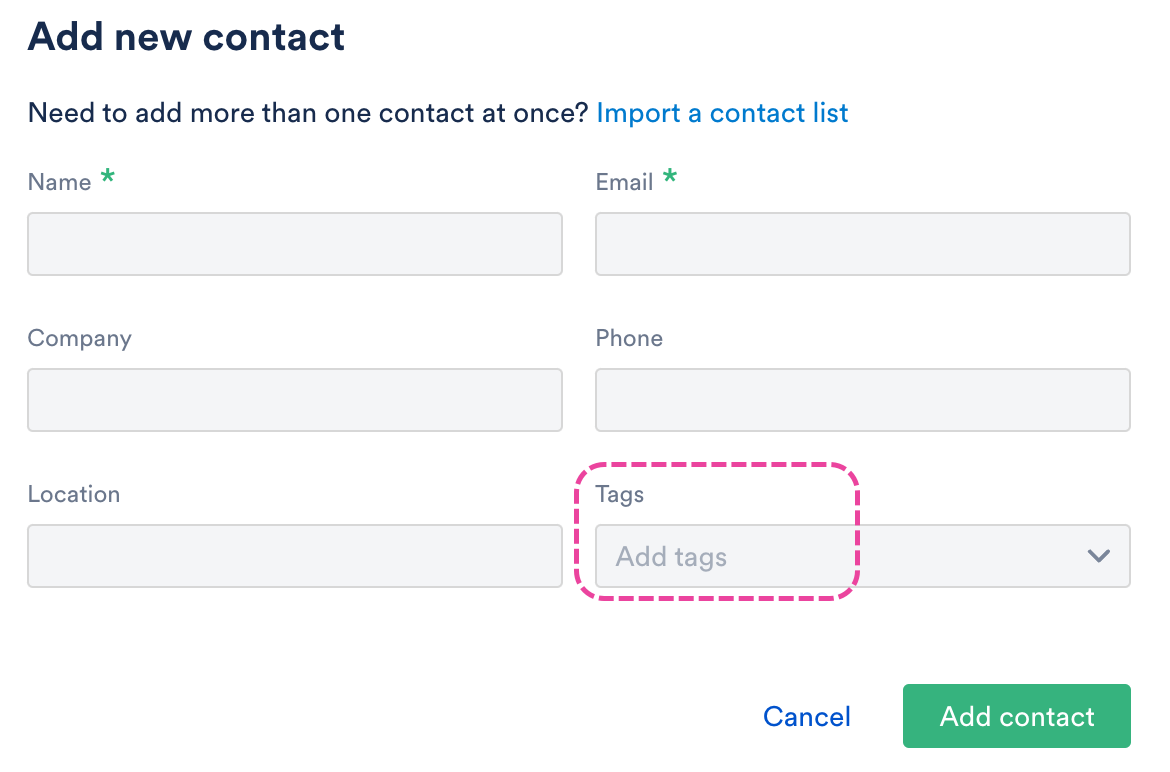
- In the Add new contact window, enter their information. Name is required for all Contacts and Email is required for most* Contacts.
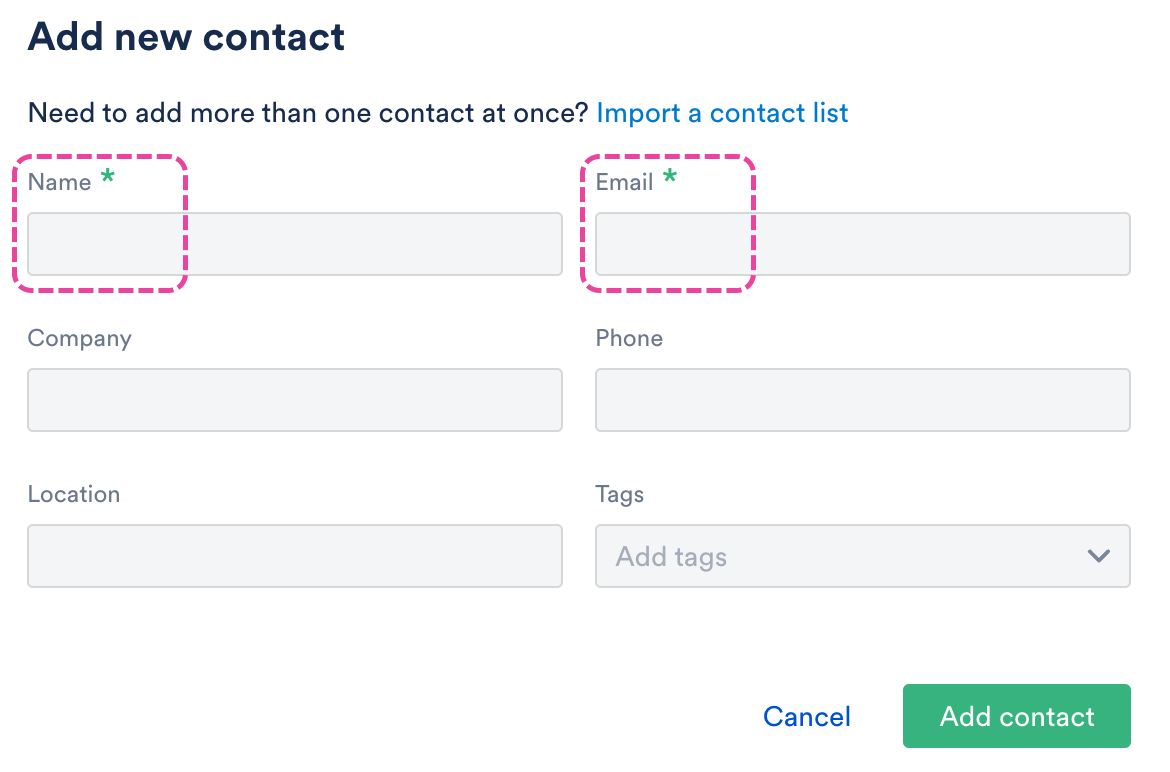 *Email is not required if the Contact is tagged as a Writer.
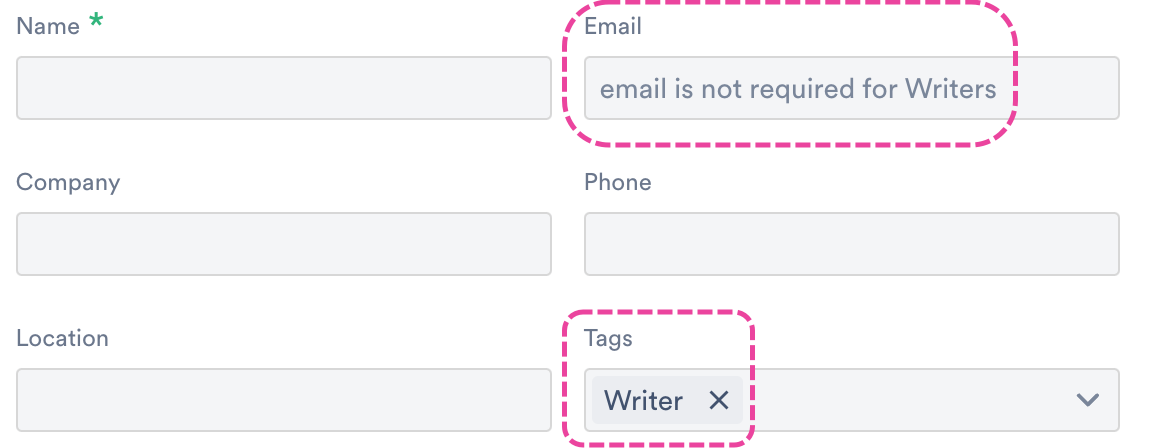
- Optional: Add Tags to your Contact. Visit this article for more information on Contact Tags.
- Click the Add contact button.
 *Email is not required if the Contact is tagged as a Writer.
Adding multiple Contacts at once
You can do this by uploading a CSV file. Visit this article for more information.
Searching Contacts
To search through your Contacts, use the search bar on the Contacts page. You can search using data from any of the Contact fields (Name, Email, Company, Phone, Location, Tags).
Viewing individual Contact pages
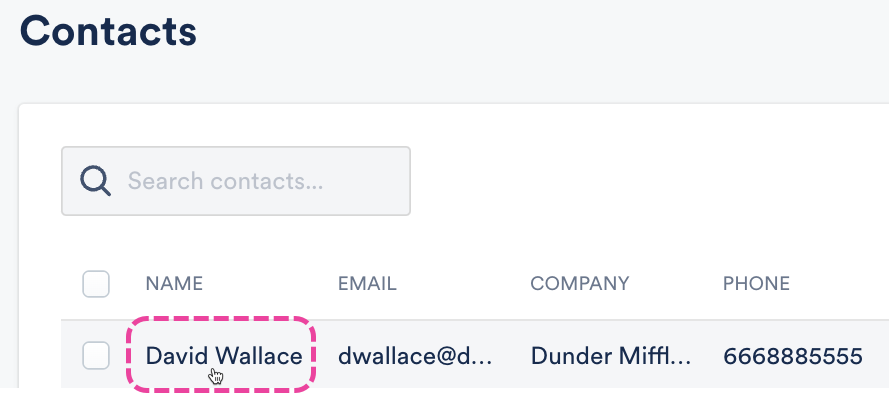
To view an individual Contact Page, click on their name in the Contacts list.
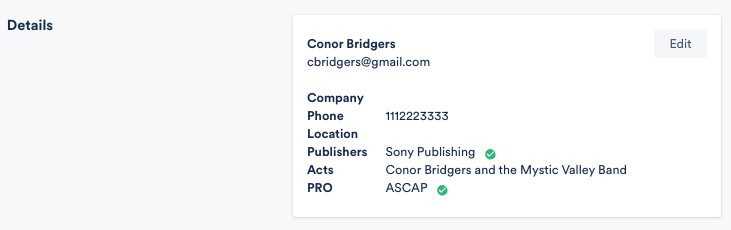
This will open their Contact page containing their Details, Tags, Notes, Mailing Lists, and Activity.
- Details → view and edit basic Contact Information. If they are a Writer (as indicated by their Tags), their Publishers, Acts, and PROs will also be listed here.
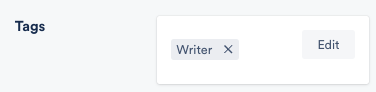
- Tags → view and edit Tags
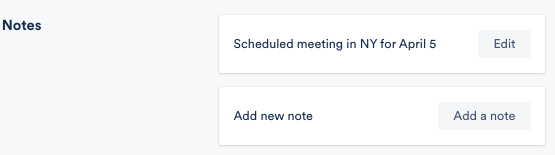
- Notes → view, edit, and add Notes added by anyone in your DISCO
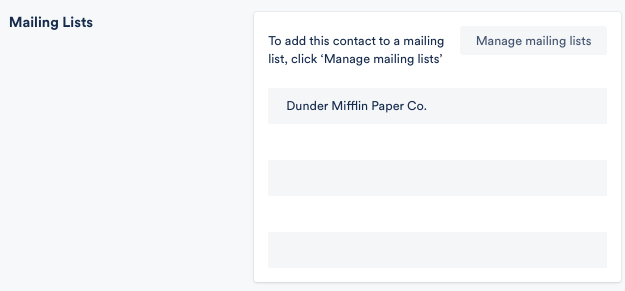
- Mailing Lists → view Mailing Lists this contact is currently on, and add them to or remove them from Mailing Lists
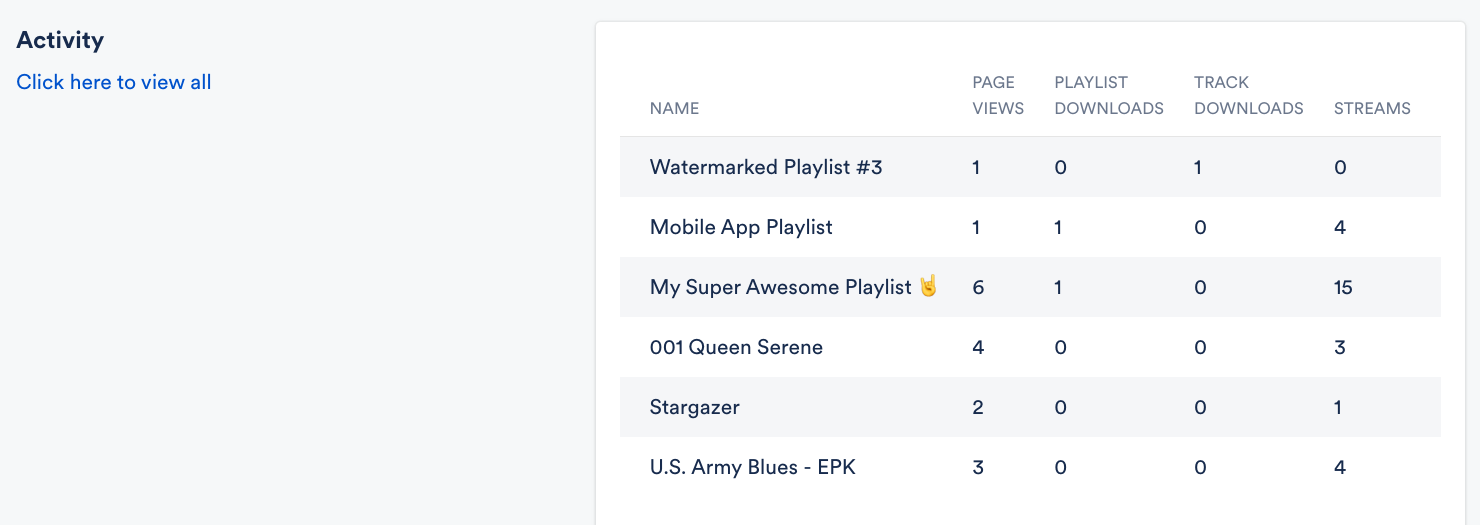
- Activity → view any Playlists you have shared with this contact, and their activity on those playlists (Page Views, Downloads, Streams)


Editing Contacts
You can edit contacts in a couple of different ways.
Single Contacts
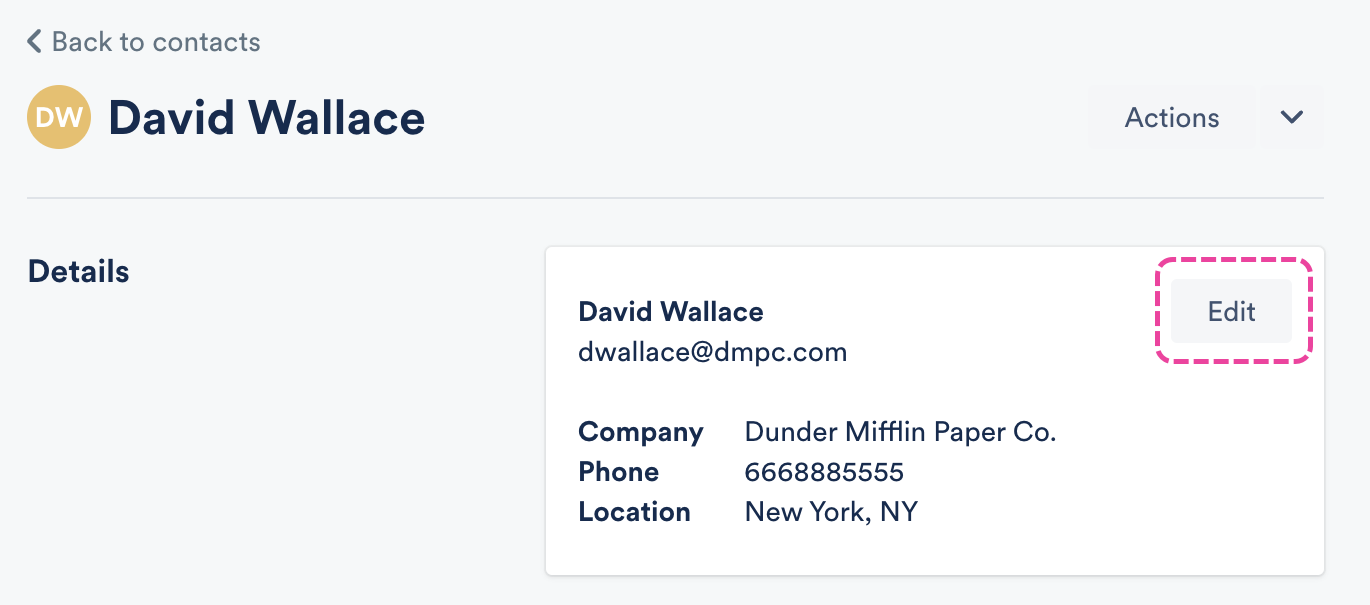
From the individual contact page:
- Click on their name in the Contact list.
- Click the Edit button next to the section you wish to edit.


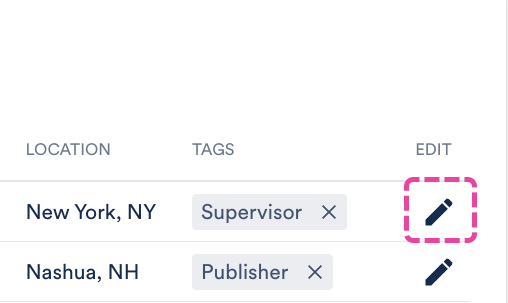
From the main Contacts page:
- Click the pencil in the Edit column for that Contact.

Multiple Contacts
- From the main Contacts page, check the boxes for each Contact, then click Edit selected in the top right corner.
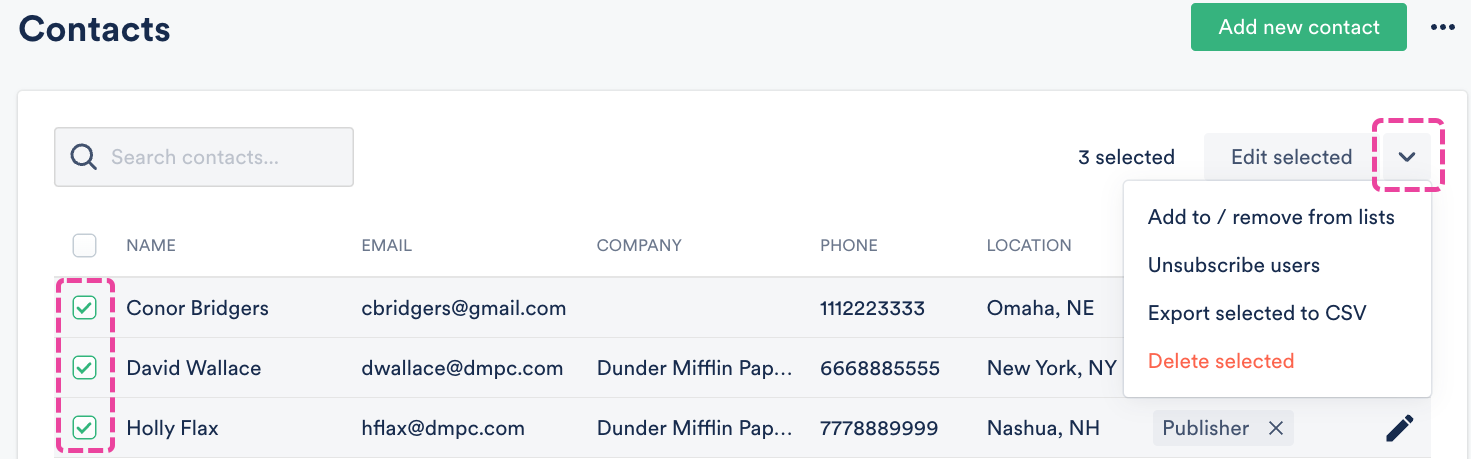
- From here you can select Add to / remove from lists or Unsubscribe users.

Deleting Contacts
You can delete contacts in a couple of different ways.
Single Contacts
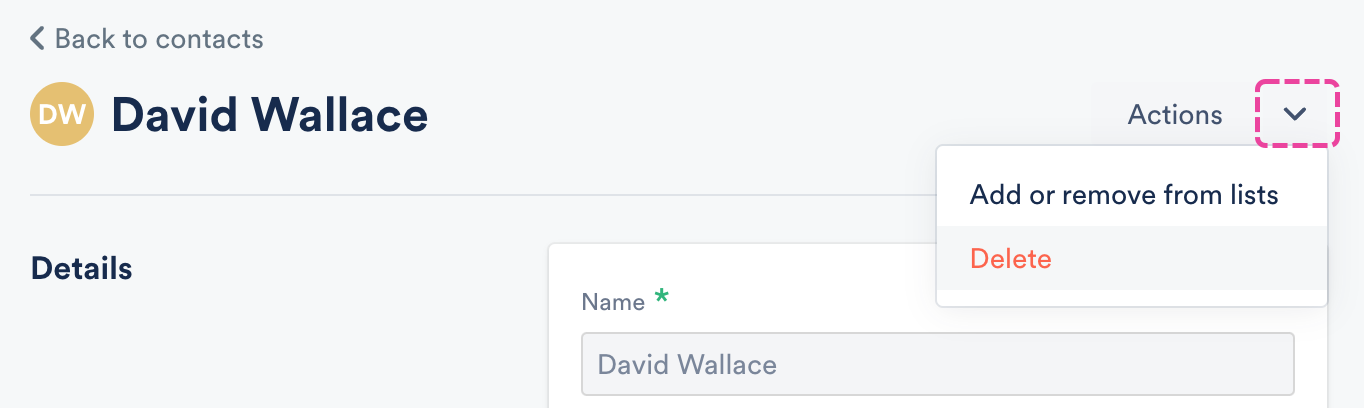
From the individual contact page:
- Click on their name in the Contact list.
- From the individual contact page, click the Actions drop-down and select Delete.

From the main Contacts page:
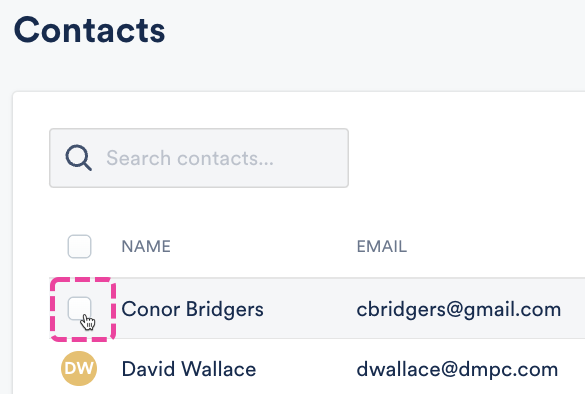
- Hover your cursor over the Contact name, then check the box that appears.

- Open the Edit selected drop-down and select Delete selected.
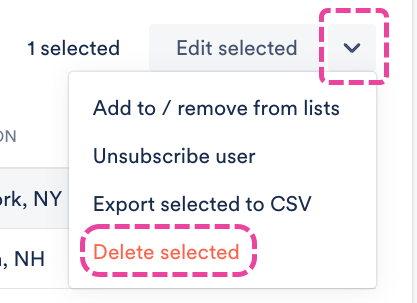


Multiple Contacts
- From the main Contacts page, check the boxes for each Contact.
- Click Edit selected in the top right corner.
- Select Delete selected.
Contact Tags are useful for quickly labeling, searching, and filtering your Contacts within Contact Lists, Mailing Lists, and when choosing recipients to send campaigns to via our Email Creator.
At a glance
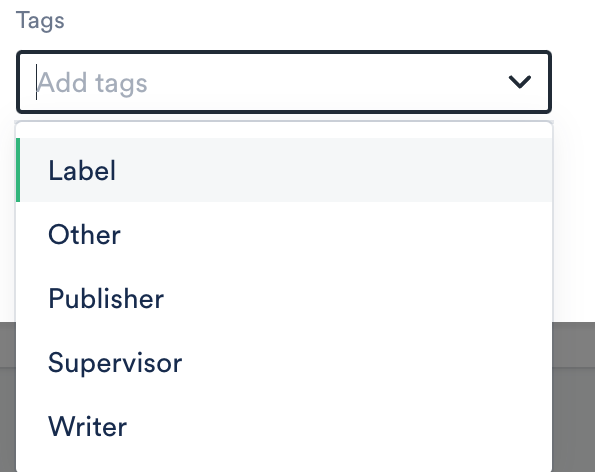
When adding Contact Tags, you can either select pre-set tags from the drop-down or type in the field to create your own:
- Label
- Other
- Publisher
- Supervisor
- Writer -- Additional fields will appear so you can add their Publisher, Acts, and Performing Rights Organization, also known as PRO. For more information on managing Writers, refer to our article on managing writers.

You can add Contact tags to existing Contacts, or when adding a new Contact.
Adding Tags to existing Contacts
Single Contacts
- From the left sidebar of your DISCO, under Tools, select Contacts.
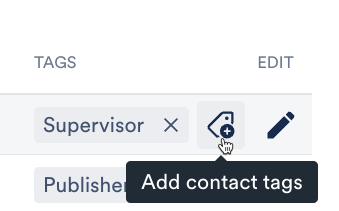
- Hover your cursor over the Contact name and click the Tag icon that appears to Add contact tags.

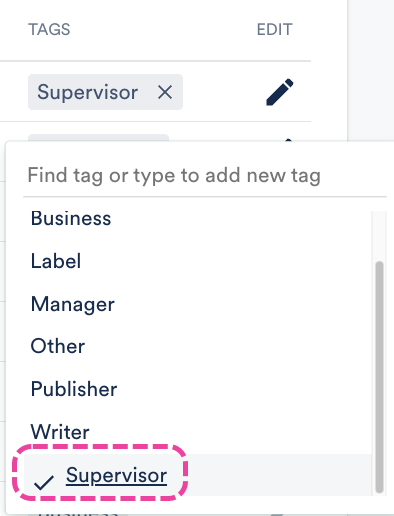
- Select a Tag from the dropdown or type to create one.


Multiple Contacts
- Hover over the Contact names, then check the boxes that appear.
- Click the Tag icon that appears to Add contact tags.
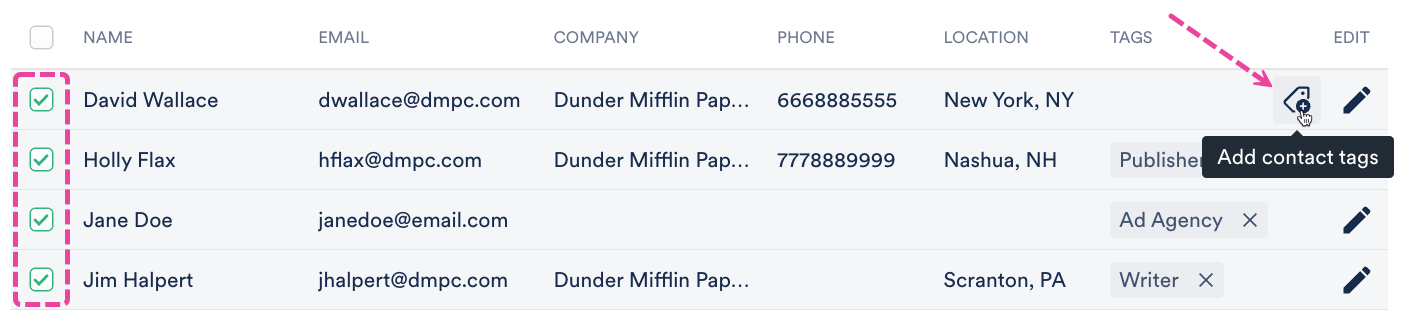
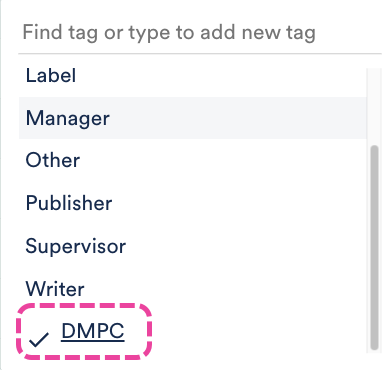
- Type in the field to create your own Tag, or choose from the available pre-set Tags.

- If you see a minus symbol (—) next to a Contact tag, that means the tag is present on some of the Contacts you've selected, but not at all. If you click this tag, it will be added it to all the selected Contacts.
- If you see a checkmark (✔️) next to a Contact tag, that means the tag is present on all the contacts you've selected. If you click this tag, it will be removed from all the selected contacts.

Adding Tags to new Contacts
Single Contacts
- In the Add new contact window, under Tags, type in the field to create your own Tag, or choose from the available pre-set Tags.
- Click the Add contact button.

Multiple Contacts
You can add Contact Tags for multiple Contacts along with other Contact data when you add new Contacts via a CSV import. When adding tags via CSV, make sure your file:
- has a Tags column
- has all Tags for each Contact contained within a single cell separated by commas


Removing Contact Tags
There are two ways to do this:
Method 1: In the Tags column for the Contact, click the X on the tag you wish to remove.

Method 2:
- Hover over the Contact name and click the Tag icon that says Add contact tags.
- Click on the Tag that shows a check mark to unselect it.


Exporting your Contacts makes it easier to edit them in bulk and re-import them.
At a glance
Contacts from your DISCO can be exported by Admins only. Non-admins will see this message if they attempt an export:
Exporting all Contacts
Click the three-dot menu (…) in the top right corner of the Contacts page, and select Export all contacts to CSV.
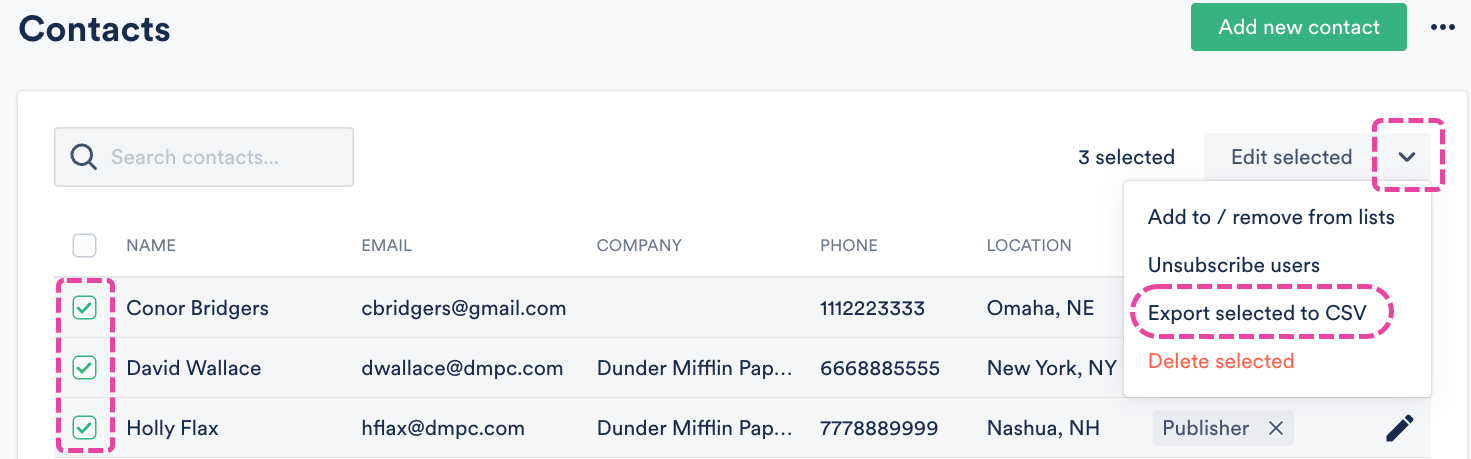
Exporting select Contacts
- Hover over the Contact names, then check the boxes that appear.
- Open the Edit selected drop-down and select Export selected to CSV.


After exporting your Contacts list from DISCO, you have the option to edit them in bulk using a third-party spreadsheet program. You can then save the new file as a CSV and re-import it into your DISCO.
At a glance
You can use any spreadsheet program for this. Below you will find instructions for a few of the most common ones: Google Sheets, Excel, and Apple Numbers.
Using Google Sheets
- Open a new Google Sheet.
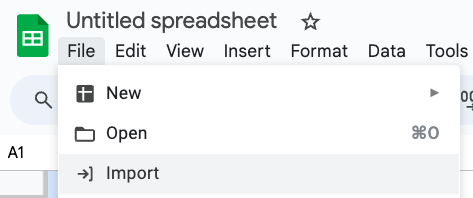
- From the File menu, select Import.
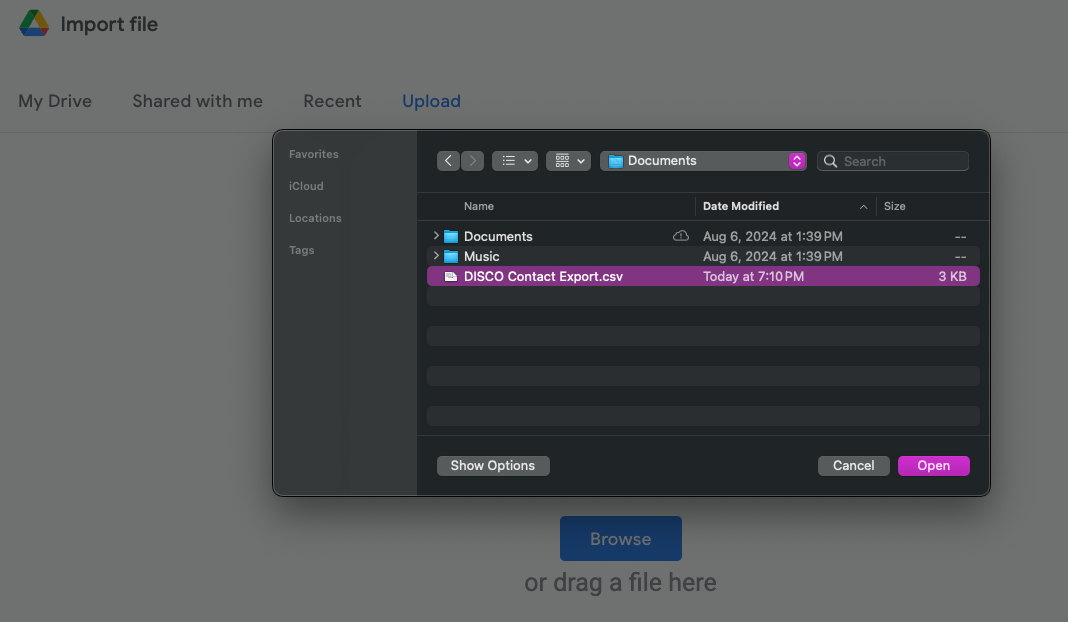
- Click the Upload tab and select your file generated from DISCO.
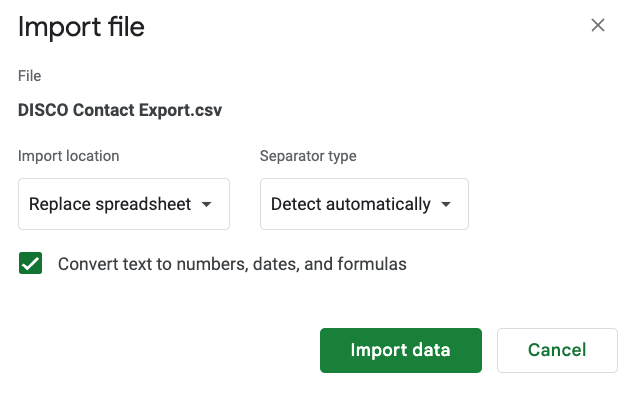
- Click the Import data button. Your Contacts data should then populate the sheet.
- Make the necessary edits to your Contacts.
- Prepare your file to be re-imported into your DISCO.
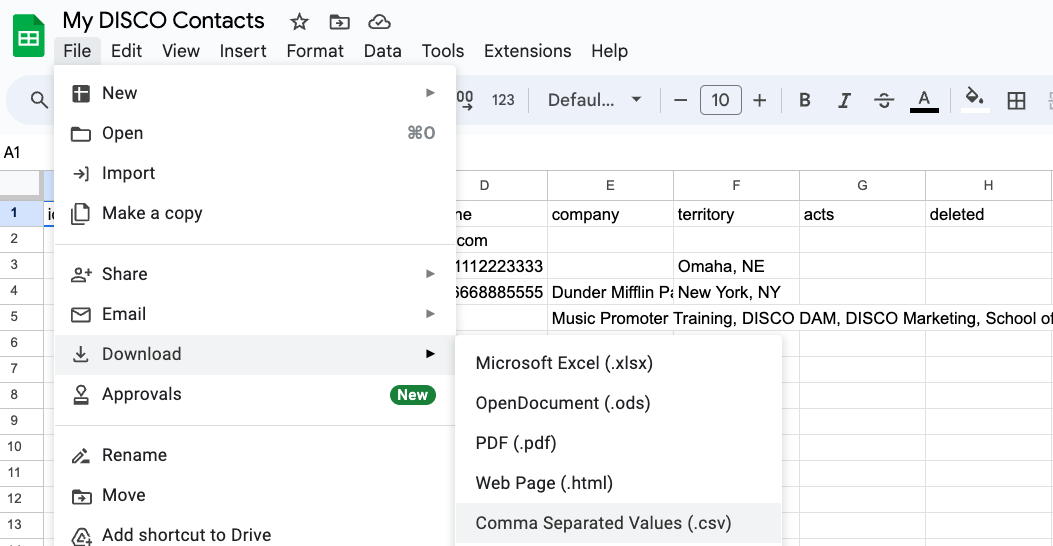
- From the File menu, select Download, then select Comma-separated values (.csv, current sheet).
- When you're ready to re-import your Contacts list, check out this article.


Using Microsoft Excel
- Open a new Excel sheet.
- Import your file generated from DISCO. Your Contacts data should then populate the sheet.
- Make the necessary edits to your Contacts.
- Prepare your file to be re-imported into your DISCO.
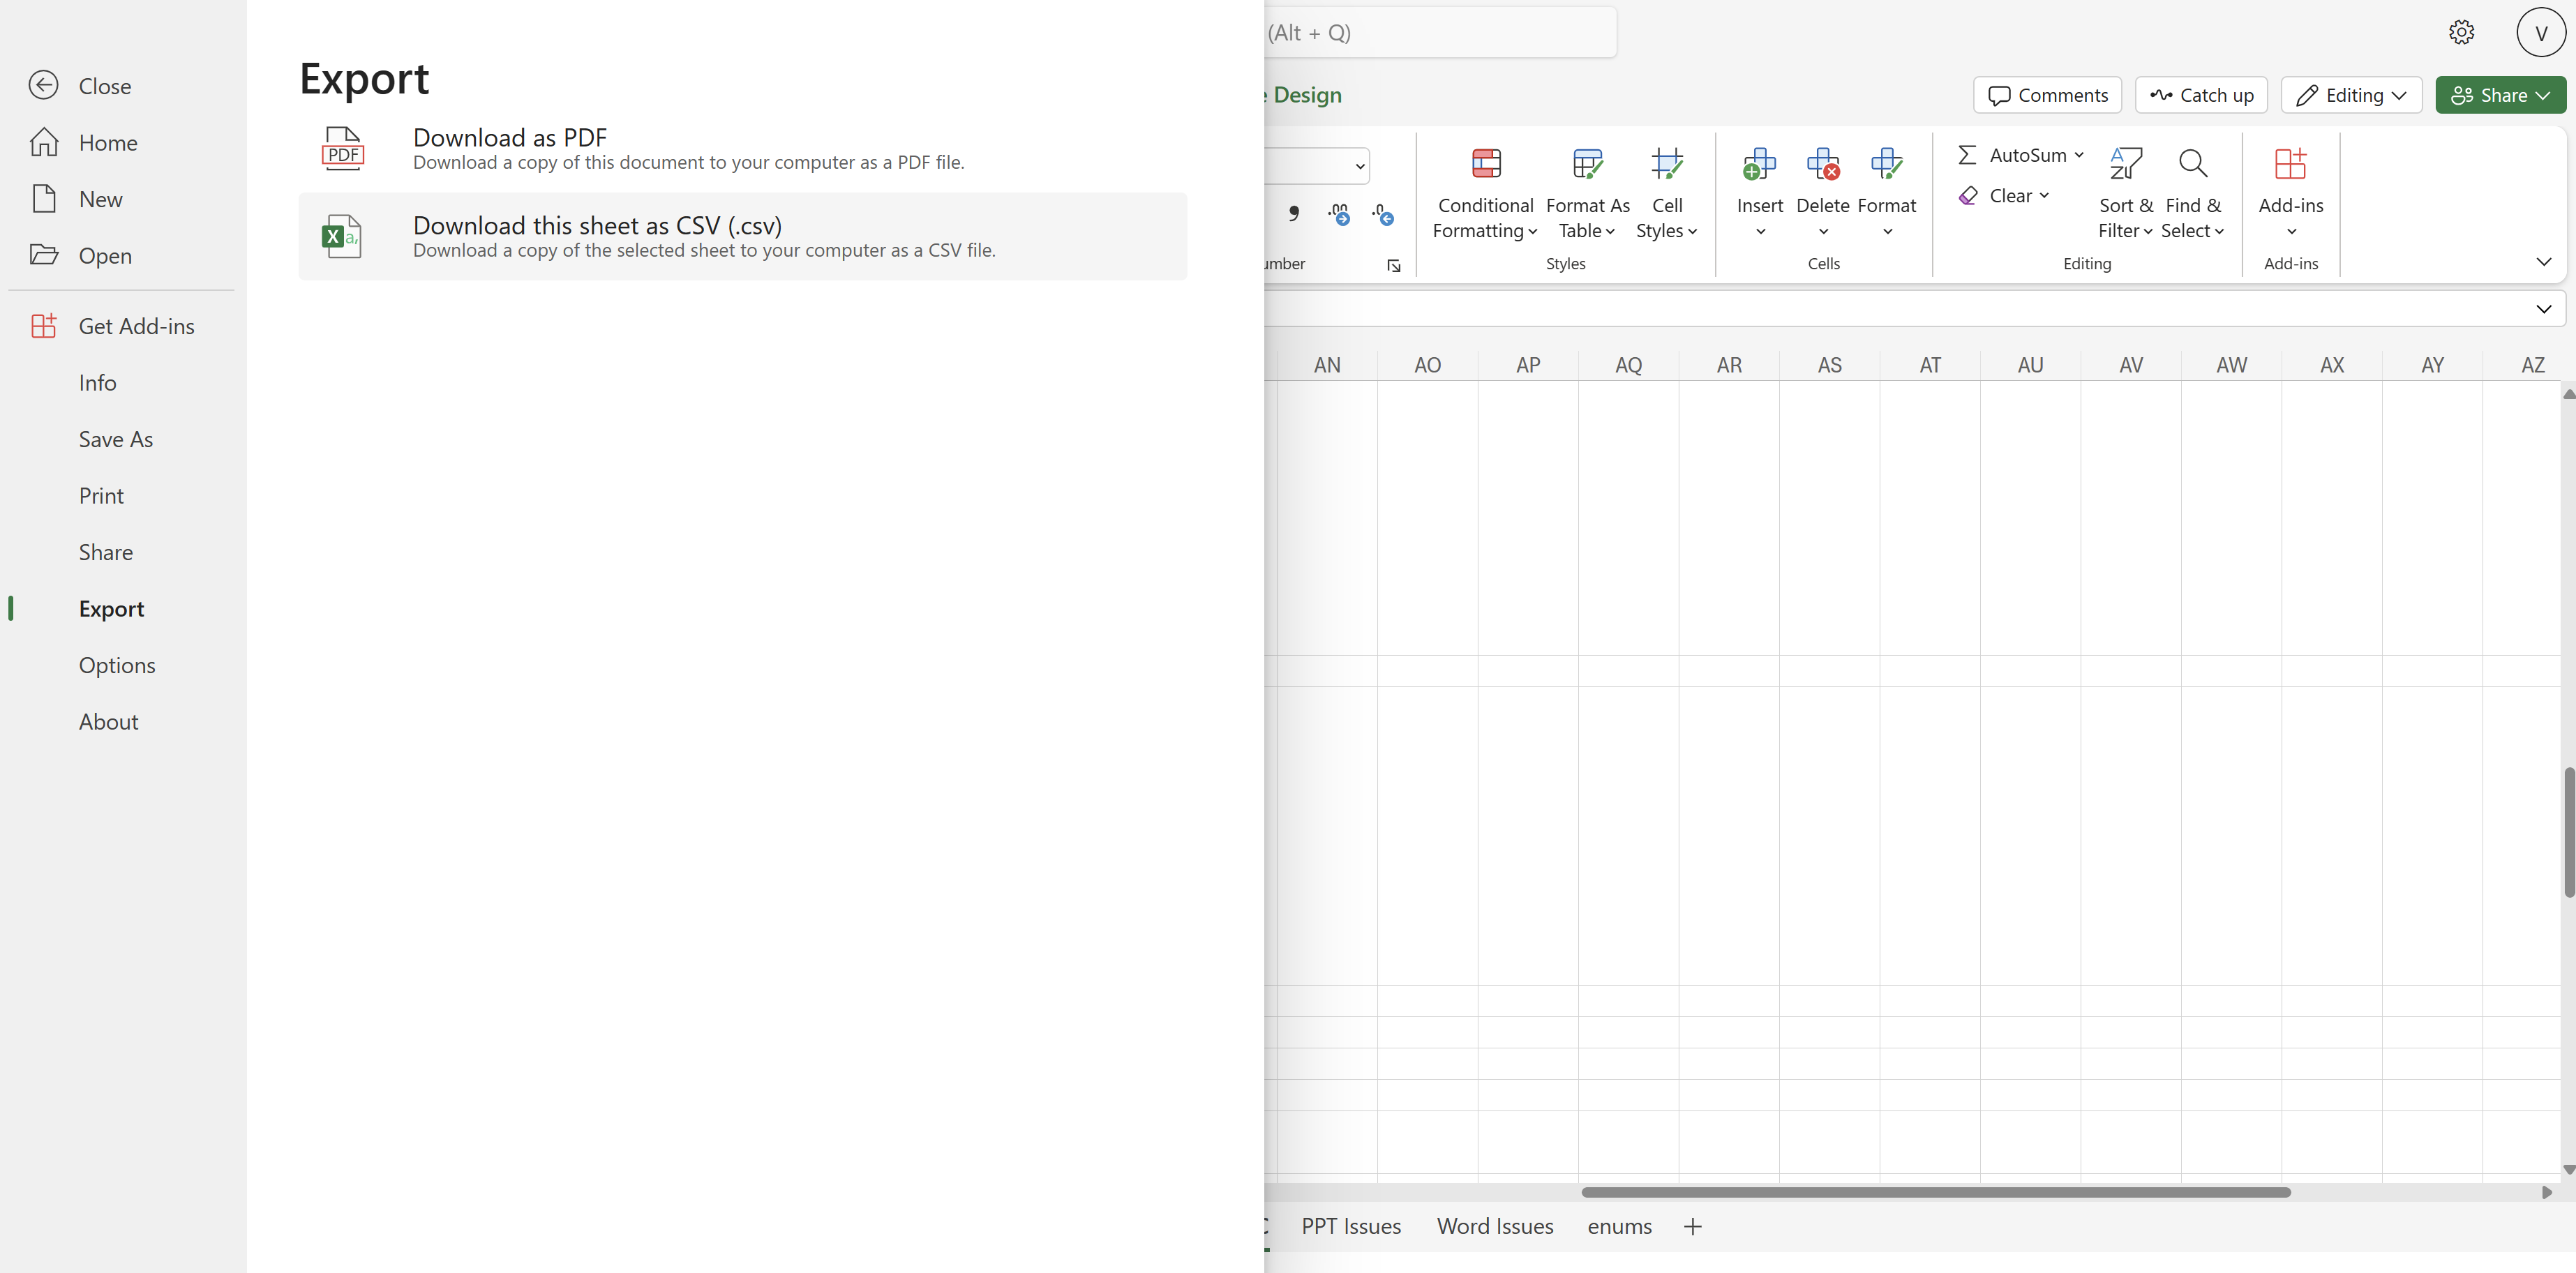
- To export, from the File menu, select Export, then select Download this sheet as CSV (.csv).
- When you're ready to re-import your Contacts list, check out this article.

Using Apple Numbers
- Open the Numbers app.
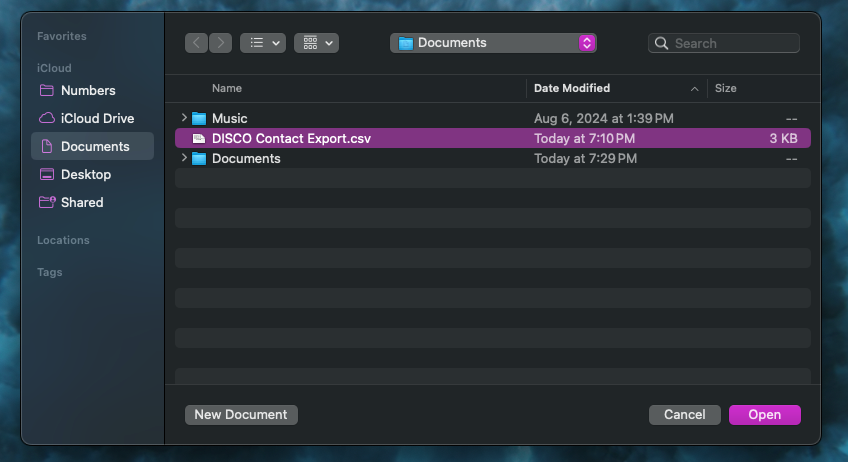
- A Finder window will open on your desktop. Select your file generated from DISCO and click Open.
- A new sheet will open with your Contacts data populated.
- Make the necessary edits to your Contacts.
- Prepare your file to be re-imported into your DISCO.
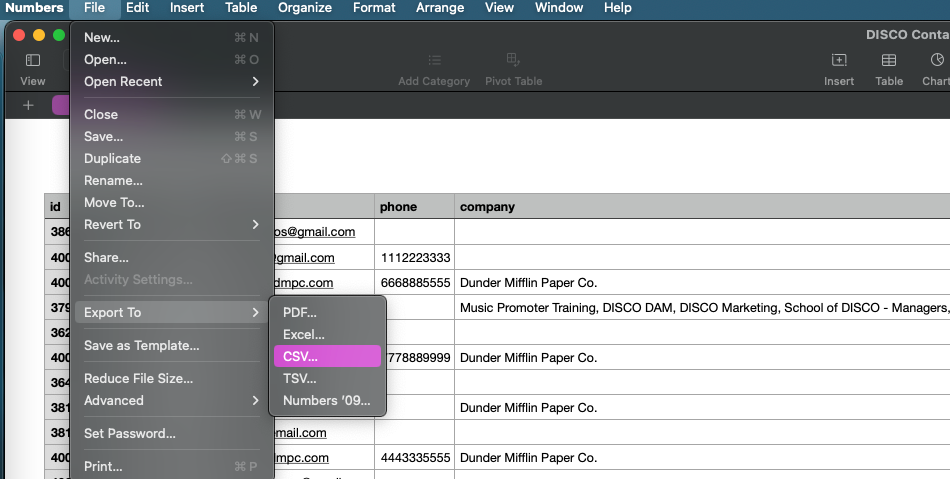
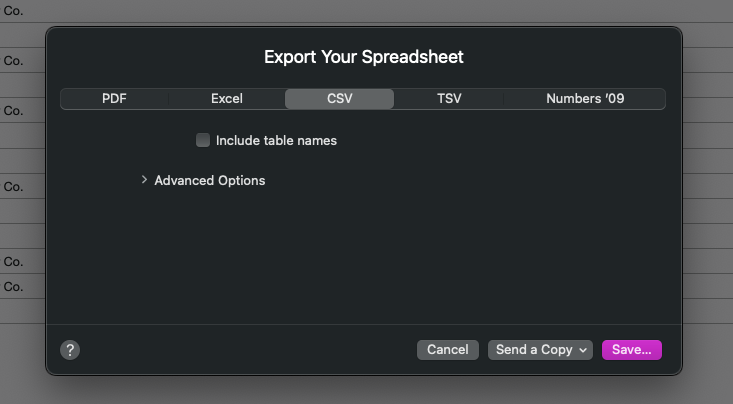
- From the File menu, select Export To, then select CSV.
- Click Save.
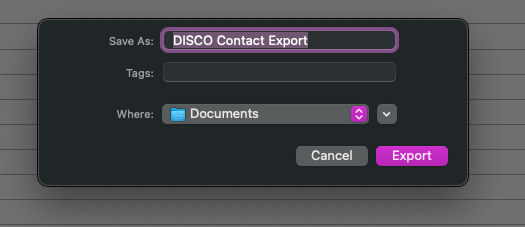
- Select a destination from the Where dropdown and click Export.
- When you're ready to re-import your Contacts list, check out this article.


You can easily add new Contacts to your DISCO via a CSV import. You can also export your existing Contacts from your DISCO to a CSV, edit them in bulk using a third-party spreadsheet program, and re-import the file into your DISCO.
At a glance
The Import option can be found from the menu (…) on the Contacts page in your DISCO.
Preparing your CSV file for import
Before importing your Contacts list, ensure that your CSV file meets the following requirements:
✅ the file must be in CSV format
✅ there must be a unique email address for every Contact (no blanks!)
✅ there must be a unique name for every Contact (no blanks!)
Optional fields
These fields are optional, meaning you can choose to remove these columns from your file before the import if you prefer.
- Tags
- Company
- Phone
- Location
Best practices
- Keep the column headers the same as they appear on your Export file, with one exception:
- Combine the First and Last Names into a single Name field to avoid errors when importing your contacts.
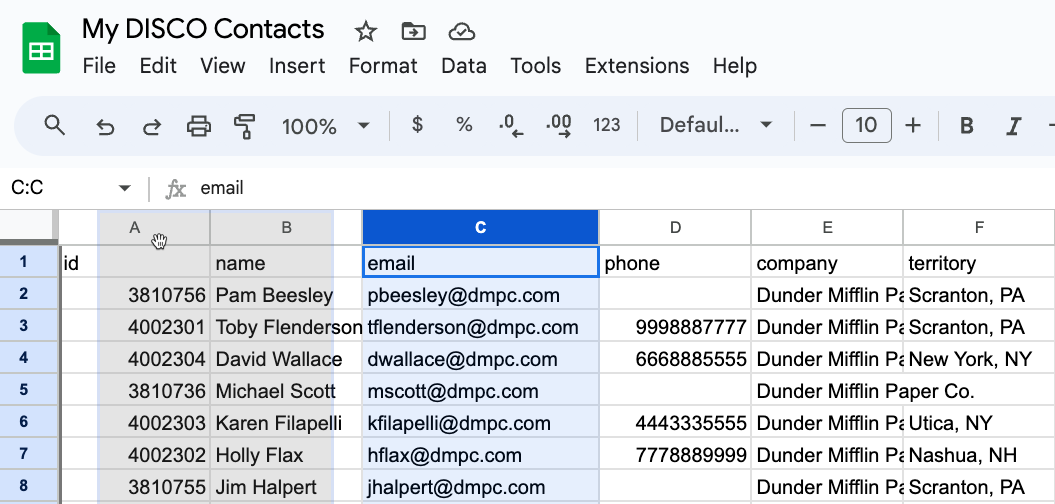
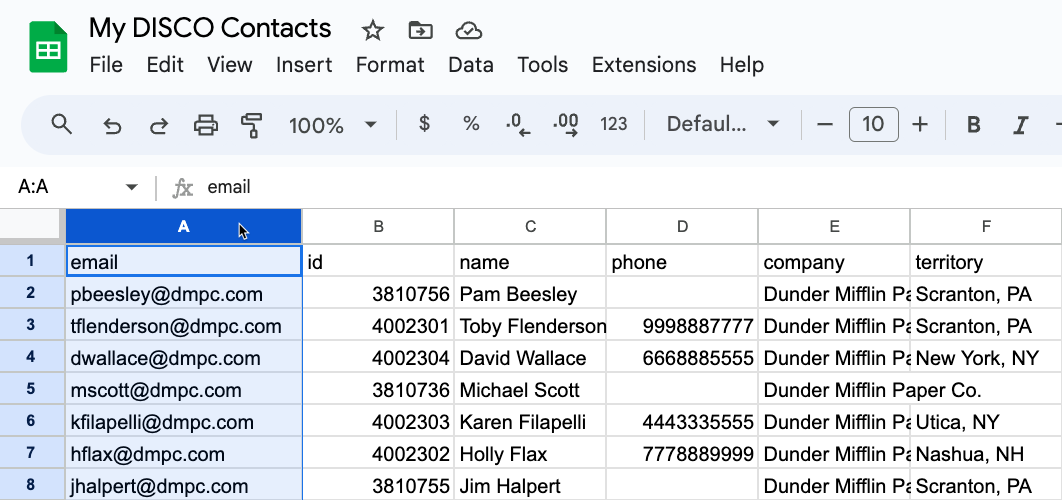
- Place the email column in Column A (you can click and drag the entire column to the left).


Importing your CSV file
- In your DISCO, on the left sidebar, select Contacts.
- In the top-right corner of the Contacts page, open the menu (…), and select Import contacts from CSV.
- Drag the file into the box or click to browse your computer.
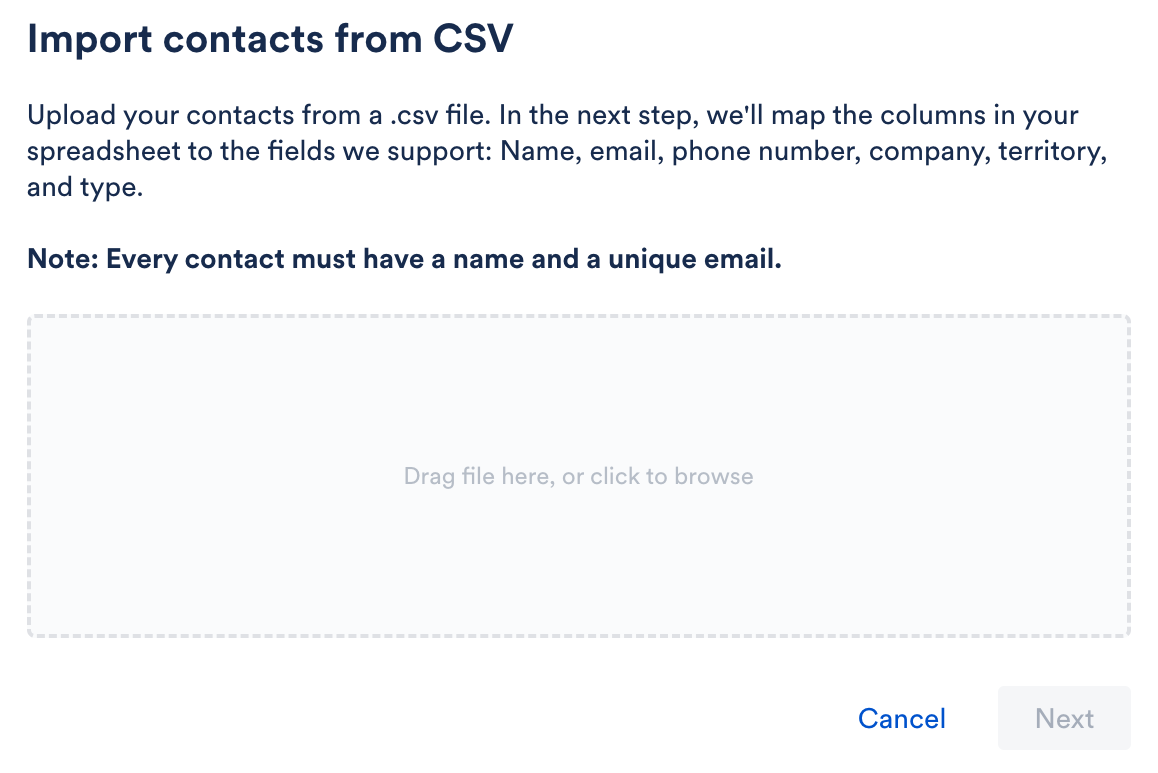
- Click the Next button.
- Map each Column from your spreadsheet to a DISCO Contact field using the drop-downs.
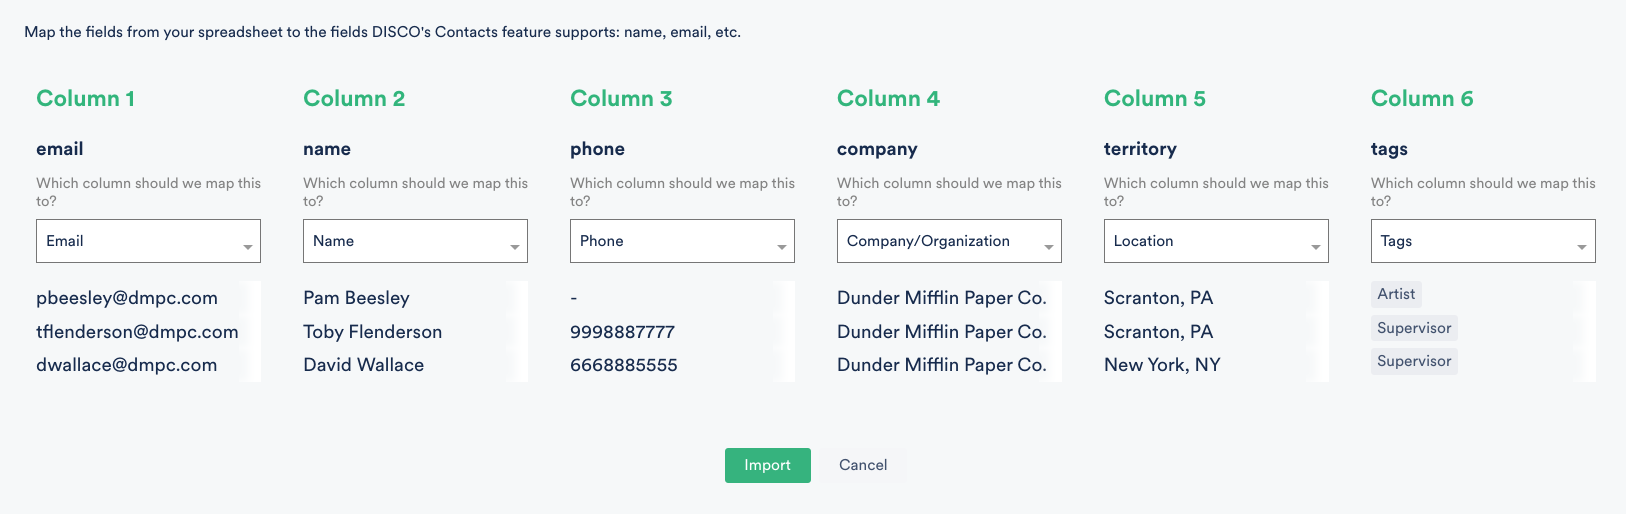
- Click the Import button.


Errors when importing
Specific error messages
This Import failed message will appear if you are missing any required information, such as a Name or Email.
Other issues
If you encounter any other issues during the import process, we suggest importing your Contacts in smaller chunks. The exact number of Contacts you can import at once varies (based on DISCO's peak usage times*); but as a general rule, we recommend importing up to 1K contacts at a time to bypass any delays.
*You may encounter this message during peak times: This import will take us a little time to process. If the contacts don't show up in 10 minutes, please contact us.' If you see this, you will not see any errors associated with your import.
