How can I use Inboxes on DISCO?
You can use Inboxes to receive Tracks and Playlists directly in your DISCO without having to download and re-upload from another source. Each Inbox has its own upload URL that can be shared with anyone, regardless of whether or not they're a DISCO user, so you can receive content.
Inboxes are especially useful in the music industry for pitching and receiving, as they eliminate most of the historical file transfer pain points, such as uploading, downloading, and unzipping files, making the process much more streamlined and convenient for everyone involved.
Visit this article for more information on sending and receiving files via Inboxes.
Types of Inboxes
Default Inboxes
There are two default Inboxes built into all DISCOs: My Inbox and Team Inbox.
📥 My Inbox - This is your personal Inbox, which is unique to you.
📥 Team Inbox - This is a general Inbox for all users in your DISCO.
Custom Inboxes
Custom Inboxes are available to users on our Pro plan and above. These are handy to use for a particular project or collection of content you work with that delivers files regularly.
Visit this article for information on creating a custom Inbox.
Sending files to an Inbox
You can send files to a DISCO Inbox in two ways.
Method 1
Anyone (regardless of whether or not they're a DISCO user) can upload files to a DISCO Inbox using the Inbox Share URL:
Tip: This method is recommended 👍
- Obtain the Inbox Share URL page from the DISCO user.
- Open the Inbox Share URL page.
- Enter your Name, Email Address, Playlist Name, and a Message.
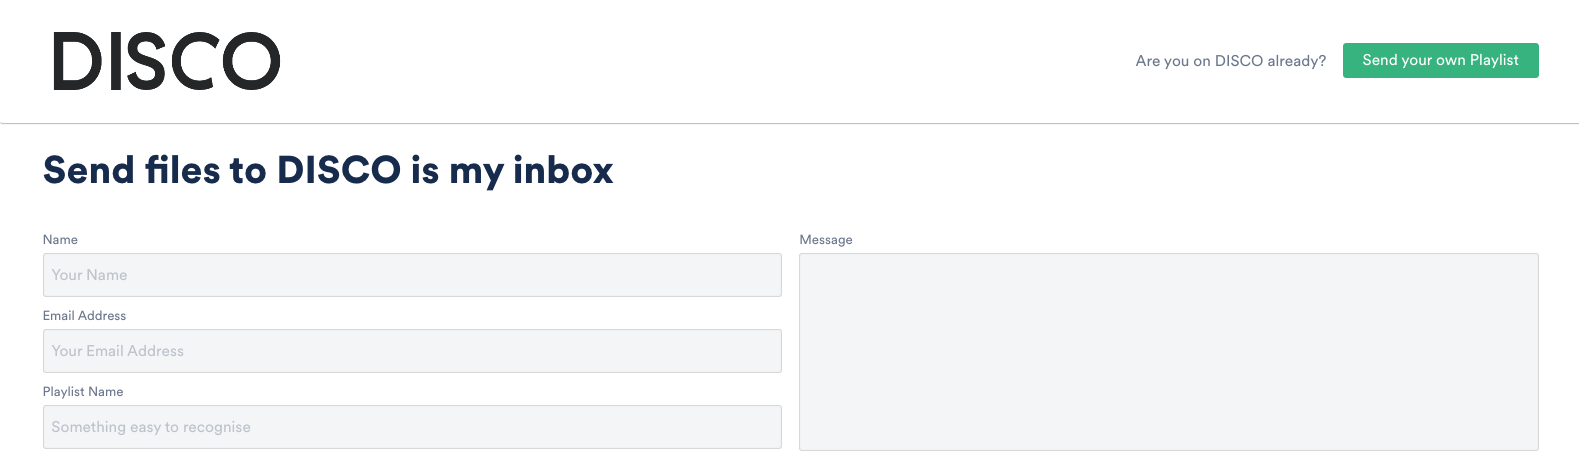
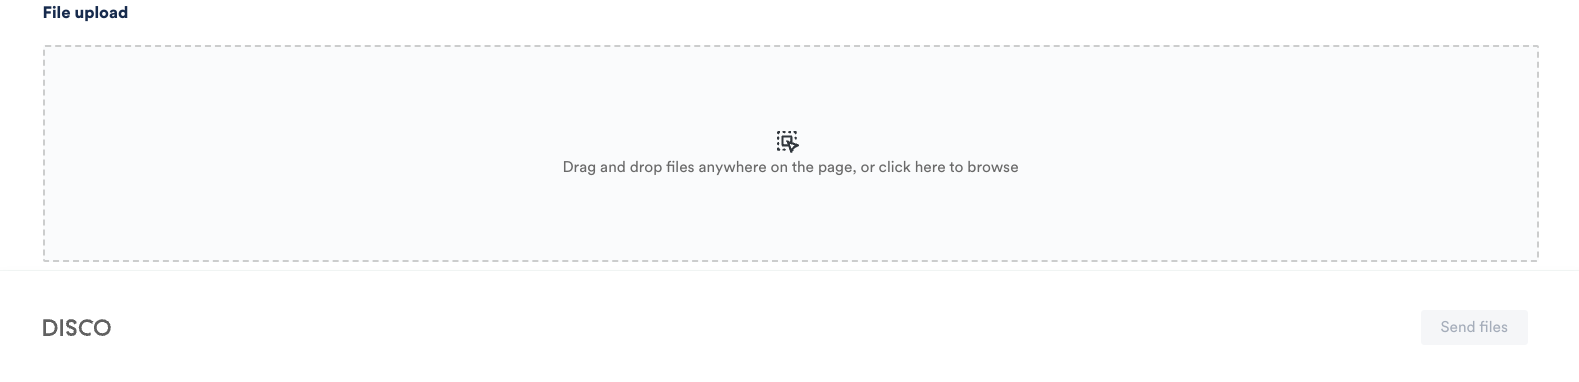
- Drag and drop files into the box or click to browse your computer.
- Alternatively, if you're a DISCO user, you can click the Send your own Playlist button in the top-right corner.

- Click the Send files button.


Method 2
DISCO users can share Tracks and Playlists directly with other DISCOs using their business name.
Note: This method is only available to DISCO users.
- Open the Playlist menu (⋮) or Track Menu (⋮) and select Share.
- From the Share to contact tab, select the Email playlist or Email track option.
- Search for the DISCO user or business.
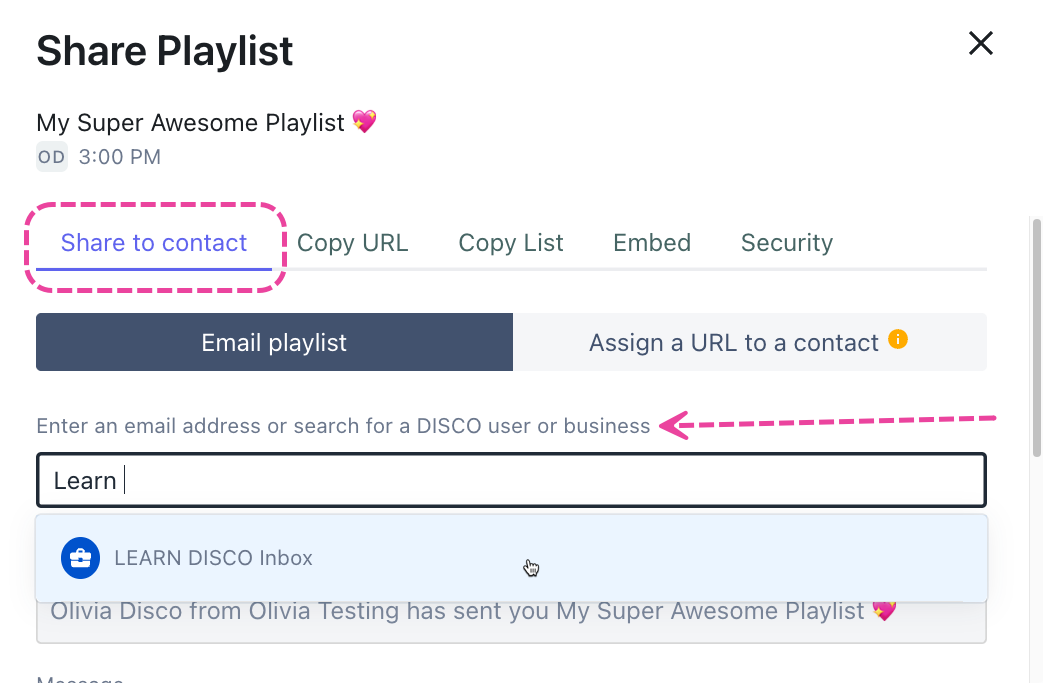
- Optional: Edit the Subject and enter a Message.
- Click the Send to recipient button.

Here's an example what the recipient will see in their Inbox:
Receiving files in an Inbox
You can receive files from anyone, regardless of whether or not they're a DISCO user!
Provide them with your public Inbox URL so they can upload files directly to your Inbox. Every Inbox on DISCO has its own URL. To find your public Inbox URL, go to your Inbox and click on the link icon to Copy Inbox URL. Users can also share Playlists directly to your Team Inbox by searching for your business name from the Share page. If you would prefer to disable this, you can do so from the Inbox Edit settings.
Once the files are in your Inbox, you can see who they were sent from and any Messages they added.
You can then decide to add the files to your DISCO, remove them from your Inbox, or remove them from your DISCO.
Using the Save to DISCO button
When you use the Save to DISCO button on a DISCO Catalog or on a public Playlist share page, the files go into your personal Inbox (My Inbox).

You'll also receive a notification in your DISCO to confirm the files have been added:
Once the files are in your Inbox, you can decide to add them to your DISCO or remove them. For more information on the Save to DISCO button, check out this article.
When your Inbox receives files, each Member of the Inbox will receive a notification from the Notification bell in DISCO:
Managers of the Inbox will receive the Notification in DISCO, as well as an email notification:
The sender will also get a confirmation email telling them their files were sent. Additionally, there will be a notification badge on the Inbox in the left sidebar of your DISCO.
At a glance
Files appear in Inboxes in two ways:
- when someone sends them directly to your Inbox
- when you use the Save to DISCO button on a DISCO Catalog or on a Playlist share page
Once the files are in your Inbox, you can decide to add them to your DISCO or remove them.
Adding content from Inboxes to your DISCO
By default, content you receive in your Inbox is not automatically added to your DISCO, meaning it does not appear in your Browse section and is not visible in searches.
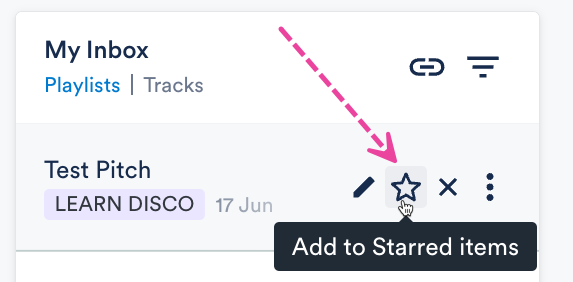
To add content from your Inbox to your DISCO you can either:
- click the star icon to Add to Starred Items (will become visible in both your Starred and Browse sections and will appear in Search Results)
- drag it into the Playlist Creator and save it as a new Playlist (will become visible in your Browse section and will appear in Search Results)
- drag it into a Channel (will become visible in your Browse section and will appear in Search Results)

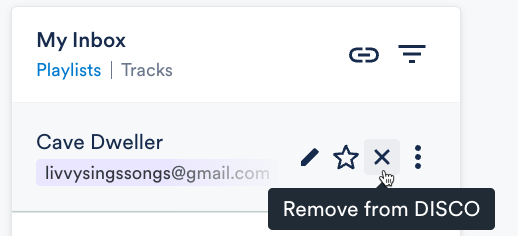
Removing content from Inboxes
Once the content is added to your DISCO from the Inbox, you can choose to remove it from the Inbox by clicking the X to Remove from Inbox. This will remove it from your Inbox, but it will still remain in your DISCO.
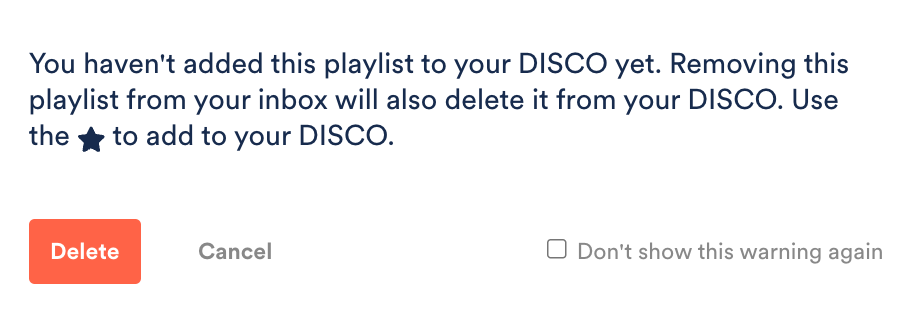
- Clicking the X on an item that has not previously been added to your DISCO will present the Remove from DISCO option, which will delete it entirely so it can no longer be added to your DISCO.
- Opening the Playlist or Track menu (⋮) and selecting Delete playlist or Delete track from DISCO (from within the Inbox or anywhere else in your DISCO) will delete it from both your Inbox and from your DISCO, even if it had been previously added to your DISCO.


Edit Inbox settings
Only Managers of Inboxes can Edit settings.
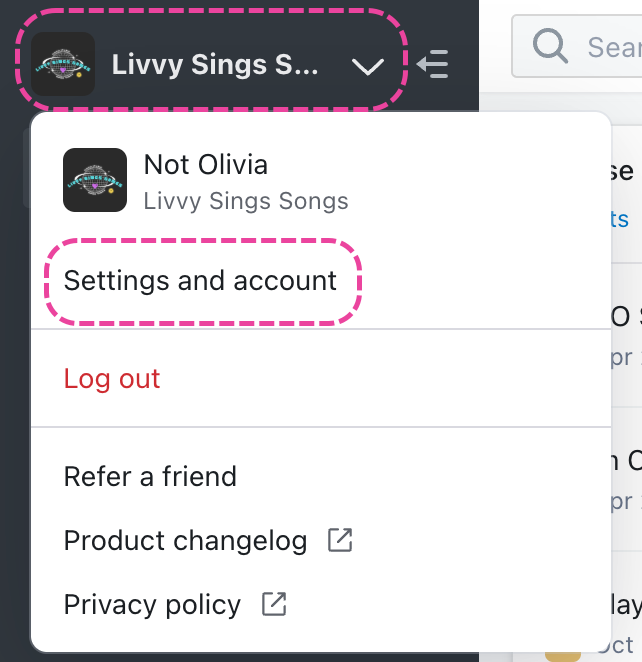
- In the top-left corner of your DISCO, click on your DISCO Business Name to open the menu.
- Select Settings and Account.
- Under Workspace Settings, select Inboxes.
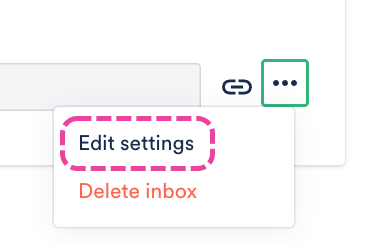
- Open the menu (⋯) next to the Inbox and select Edit settings.


- update the Inbox name
- manage permissions
- add/remove Managers and Members
- make the Inbox Visible to all users in the DISCO account
- Allow bulk uploads to the Inbox
- Add custom message to the Inbox that will appear on the public upload page for the Inbox -- this is useful for advising senders how you'd like to receive files
You can also disable the setting in the Team Inbox that allows other DISCO users to share Playlists directly to your Inbox from the Share page:

Deleting Inboxes
Only Managers of Inboxes can Delete inboxes.
- In the top-left corner of your DISCO, click on your DISCO Business Name to open the menu.
- Select Settings and Account.
- Under Workspace Settings, select Inboxes.
- Open the menu (⋯) next to the Inbox and select Delete inbox.


Create a Custom Inbox
- In the top-left corner of your DISCO, click on your DISCO Business Name to open the menu.
- Select Settings and Account.
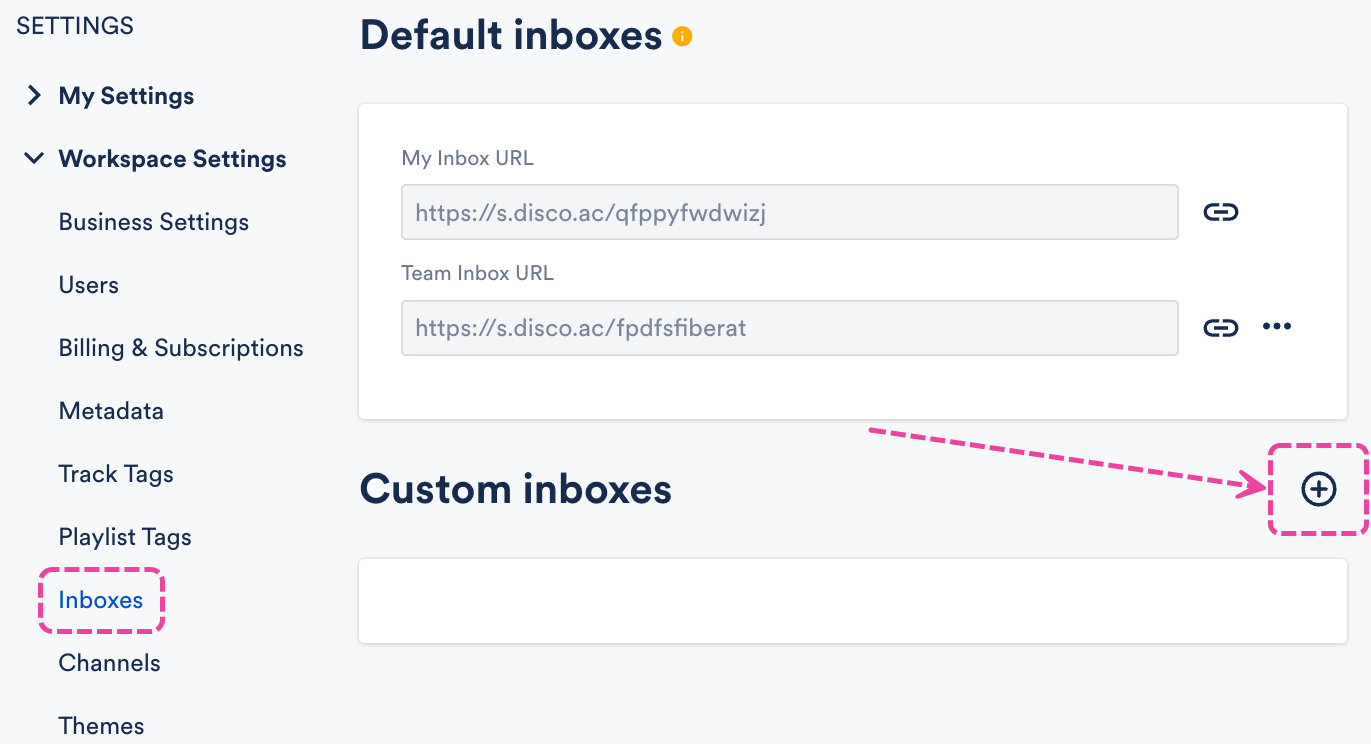
- Under Workspace Settings, select Inboxes.
- Click the + plus icon to the right of Custom inboxes.
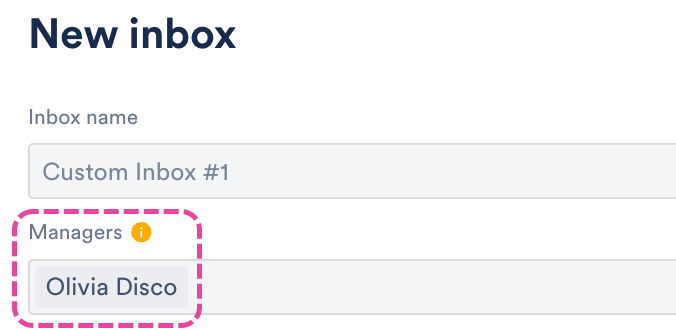
- Add an Inbox name, Managers, and Members.
- Managers are notified by email and in their DISCO whenever files are sent to the Inbox.
- Members receive Notifications in their DISCO only.
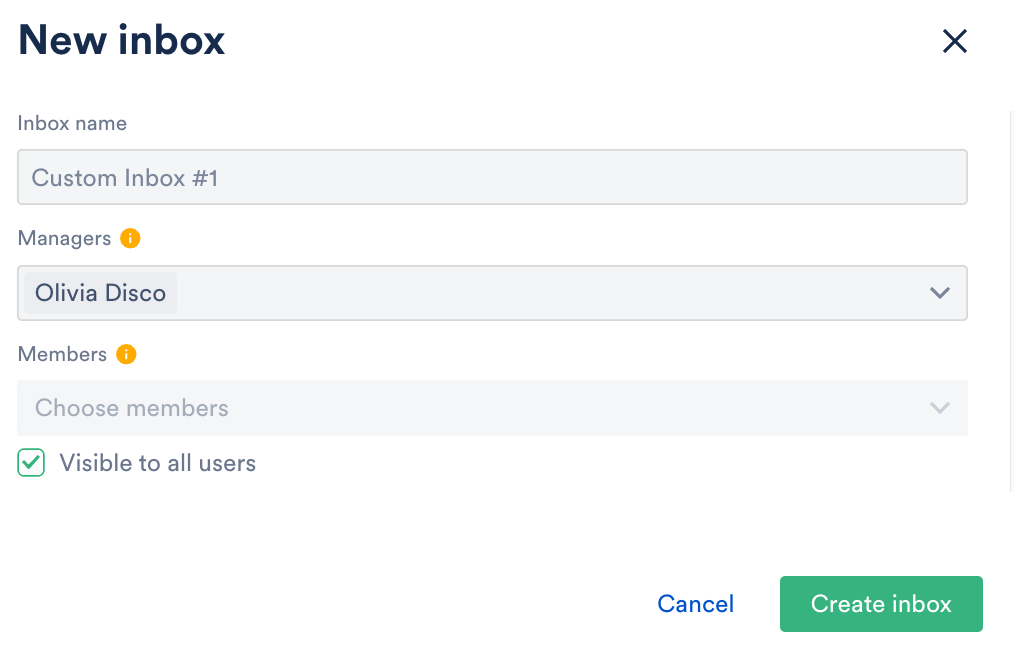
- Decide whether or not this Inbox should be Visible to all users in your DISCO by checking or unchecking the box.
- Click the Create inbox button.